api及语法
双向绑定原理
- Vue2使用Object.defineProperty 为每个属性创建getter和setter,通过getter和setter来捕获操作以实现响应式更新; 很多情况下,属性的新增和删除拦截不到(比如数组的长度变化)
- Vue3使用Proxy,Proxy可以拦截对象和数组的变化,包括新增和删除属性,数组的长度变化等,从而实现更精确的响应式更新
v2 使用object.defineProperty来劫持数据的setter和getter方法,对象改变需要借助api去深度监听;
v3 使用proxy来劫持整个对象,不需要深度监听,性能更好,删除了一些api($on,$once,$off) fiter等,优化了Block tree,solt,diff 算法等
Vue2在data中定义的数据就会自动遍历绑定Object.defineProperty以实现响应式;Vue3中要用ref包装,通过返回值的 .value属性获取响应式的值 ,修改也需要对 .value进行修改.
1
2
3
4
5
6
7
8
9
10
11
12
13
14
15
16
17
18
19
20
21
22
23
24
25
26
| <template>
<div>
{{ testOne }}
{{ testTwo.directionD}}
</div>
</template>
<script setup>
const testOne= ref(0)
const testTwo= ref({
directionD: '',
directionA: '',
arr: []
})
const dataThree= ref({})
console.log(testOne.value);
console.log(dataThree.value);
console.log(testTwo.value.directionD);
console.log(testTwo.value.directionD);
</script>
|
二者用法差异不在此赘述,可见大佬文章:http://t.csdnimg.cn/wpu6r
vue3支持碎片化
- Vue2中,每个组件必须有一个根元素,而Vue3中,组件可以没有根元素,可以返回一个数组,数组中的每个元素都可以是一个独立的组件
- Vue3中,组件可以返回一个数组,数组中的每个元素都可以是一个独立的组件,这样就可以实现更灵活的布局和组件组合
下列情况若子组件中存在多个根节点, 则使用组件时不能使用 v-show(无法对子组件根节点添加display)
解决:
1.可用v-if代替(可能存在首次渲染失效)
2.只保留一个根节点
1
2
3
4
5
6
7
8
9
10
11
12
13
14
15
16
17
18
19
20
21
22
| <template>
<div class="container">
<son v-show="false"></son>
</div>
</template>
-- son组件 --
<template>
<div class="son_container">
1
</div>
<div class="son_container2">
2
</div>
<div class="son_container3">
3
</div>
</template>
|
生命周期
| vue2 |
vue3 |
|
| beforeCreate() |
setup() |
组件开始创建数据实例之前 |
| created() |
setup() |
组件实例完成 |
| beforeMount() |
onBeforeMount() |
DOM挂载之前 |
| mounted() |
onMounted() |
DOM挂载完成 |
| beforeUpdate() |
onBeforeUpdate() |
组件更新之前 |
| undated() |
onUpdated() |
组件更新之后 |
| beforeDestroy() |
onBeforeunmount() |
组件销毁之前 |
| destroyed() |
onUnmounted() |
组件销毁之后 |
去除this
Vue3中没有this, 使用this报错 需要组件内的某个方法直接使用即可(注意使用的数据必须在调用前定义)
组件传值props和emit
- Vue2中是 props和 this.$emit
- Vue3中则是[defineEmits defineProps] props emit;
需要注意的是 Vue2中传值给子组件的属性可以直接使用,
Vue3中子组件接收的值在props对象中,所以在ts/js中使用需要 props.name,
emit触发的事件,需要defineProps声明接收数据,defineEmits 声明以明确事件定义.
1
2
3
4
5
6
7
8
9
10
11
12
13
14
15
16
17
18
19
20
21
22
23
24
25
26
27
28
29
30
31
32
33
34
35
36
37
38
39
40
41
|
<son ref="bottomContract"
@transferData="transferData"
@reloadEcharts="reloadEcharts"
:dataOne="tableTime"
:dataTwo="echartsColumnData"
:dataThree="dataThree"
/>
<script lang="ts" setup>
const props = defineProps({
dataOne: {
default: () => 0
},
dataThree: {
type: Number,
default: () => 0
},
dataTwo: {
default: () => []
}
})
const test = () => {
console.log(props.dataOne)
}
const emit = defineEmits(["transferData", "reloadEcharts"])
const testTwo = ()=> {
emit("transferData", 'value')
emit("transferData", 'value')
}
</script>
|
watch和computed
watch
1
2
3
4
5
| watch: {
scrollTop(n) {
}
}
|
- Vue3,监听watch第一个参数是直接传入要监听的对象 ;深度监听复杂对象 {deep: true}
1
2
3
4
5
6
7
8
9
10
11
12
13
14
15
16
17
18
| const demo = reactive({
name: '前端',
nickName: '1',
Yiqian: {
name: '',
nickName: ''
}
})
watch(demo, (newValue, oldValue) => {
console.log('watch 已触发', newValue)
}, {deep: true})
watch(() => ({ ...demo }), (newValue, oldValue) => {
console.log('watch 已触发', newValue)
})
|
>>> 监听一个属性就要用一个watch,是不是不太妙? 那当然也可以组合到一起,此时的第一个参数是一个数组,第二参数箭头函数的参数也是数组的形式,按照数组下标对应监听值
1
2
3
4
5
| watch(() => [demo.name, demo.nickname], (newValue, oldValue) => {
console.log(newValue);
console.log(newValue[0])
console.log(newValue[1])
})
|
computed
与vue2的computed配置写法基本一致 .
1
2
3
4
5
6
7
8
9
10
11
12
13
14
15
16
17
18
19
20
21
| const user = ref({
testOne: 'A',
testTwo: 'B'
});
const fullName1 = computed(() => {
return user.value.testOne+ '-' + user.value.testTwo;
})
const fullName2 = computed({
get () {
return user.value.testOne+ '-' + user.value.testTwo;
},
set (value: string) {
const names ='111';
user.value.testOne= names;
user.value.testTwo= names;
}
});
|
子组件实例,调用组件方法
- Vue2中 子组件定义
ref="name"后使用this.$refs.name 就能拿到组件name的实例;同时可以this.$refs.name.test() 的方式直接调用子组件的test()方法
- Vue3中,子组件定义
ref="name",需要用ref()来定义引用,将其绑定到对应子组件上;若想直接调用子组件的方法,需要在子组件中defineExpose显示暴露出对应的方法(组件封装性),若不暴露出来则子组件实例上不会存在此方法
1
2
3
4
5
6
7
8
9
10
11
12
13
14
15
16
17
18
19
20
21
22
23
24
25
26
27
28
29
30
31
|
<template>
<ChildComponent ref="timingEchartsModule" />
</template>
<script setup>
import { ref } from 'vue';
import ChildComponent from './ChildComponent.vue';
const timingEchartsModule = ref();
onMounted(() => {
console.log(timingEchartsModule.value);
timingEchartsModule.value.test()
});
</script>
<script setup>
const test= () => {
console.log('someMethod called');
};
defineExpose({
test
})
</script>
|
选项式api和组合式api
mixins和hooks
Vue 2 中,Mixins 是一种全局特性,可以在多个组件之间共享代码。你可以创建一个 Mixin 对象,然后在组件中通过 Mixins 选项引入这个对象,从而将 Mixin 中的属性和方法合并到组件中;如果多个 Mixins 中有相同的属性或方法,可能会导致命名冲突。另外,由于 Mixins 是全局的,它们会增加组件的耦合度,使得代码难以维护。
Vue3的Hooks允许你将相关的逻辑组合到一起,形成一个逻辑单元,组件内部使用的,而不是全局的,这减少了命名冲突和耦合度。
1
2
3
4
5
6
7
8
9
10
11
12
13
14
15
16
17
18
19
20
21
22
23
24
25
26
|
import { ref } from 'vue'
export default function() {
const count = ref(0);
const add = () => {
count.value++;
}
const decrement = () => {
count.value--;
}
return {
count,
add,
decrement
}
}
<script setup>
import useCount from "../hooks/useCount"
const { count, add, decrement } = useCount()
</script>
|
插件
vue-router
基本类似,在使用时需要引入; route和router, router获取路由器实例 ; route对象包含了当前路由的各种信息
1
2
3
4
5
6
7
8
|
const router = useRouter()
router.push({path:'name'})
router.back();
const route = useRoute()
console.log(route.params)
console.log(route.query)
|
状态管理Vuex 和 Pinia
- Vuex使用 store、state、mutations、actions 和 getters 的概念,结构化更严格
- Pinia 更简洁和模块化,使用 defineStore 函数创建状态,避免了冗长的代码结构
pina
1
2
3
4
5
6
7
8
9
10
11
12
13
14
15
16
17
18
19
20
21
22
23
24
25
26
27
28
29
| import { defineStore } from 'pinia'
const useTimingInfoStore = defineStore('timingApproval', {
state: () => ({
testOne: 1,
testTwo: 2,
}),
actions: {
addSchemeData(data){
this.testOne= data
},
addTimingData(data){
this.testTwo= data
}
},
getters: {
doubleCount: (state) => state.testOne* 2
}
})
export default useTimingInfoStore
import { useTimingInfoStore} from '@/stores/timingApproval';
const timingInfoStore = useTimingInfoStore()
console.log(timingInfoStore.testOne)
timingInfoStore.addSchemeData(2)
|
一、Pinia是什么
二、Pinia使用
1.基本使用
2.state
3.getters
4.actions
5.模块化
Pinia是什么
伴随vue2到vue3的升级,官方已经用Pinia代替了Vuex成为官方的状态管理库。
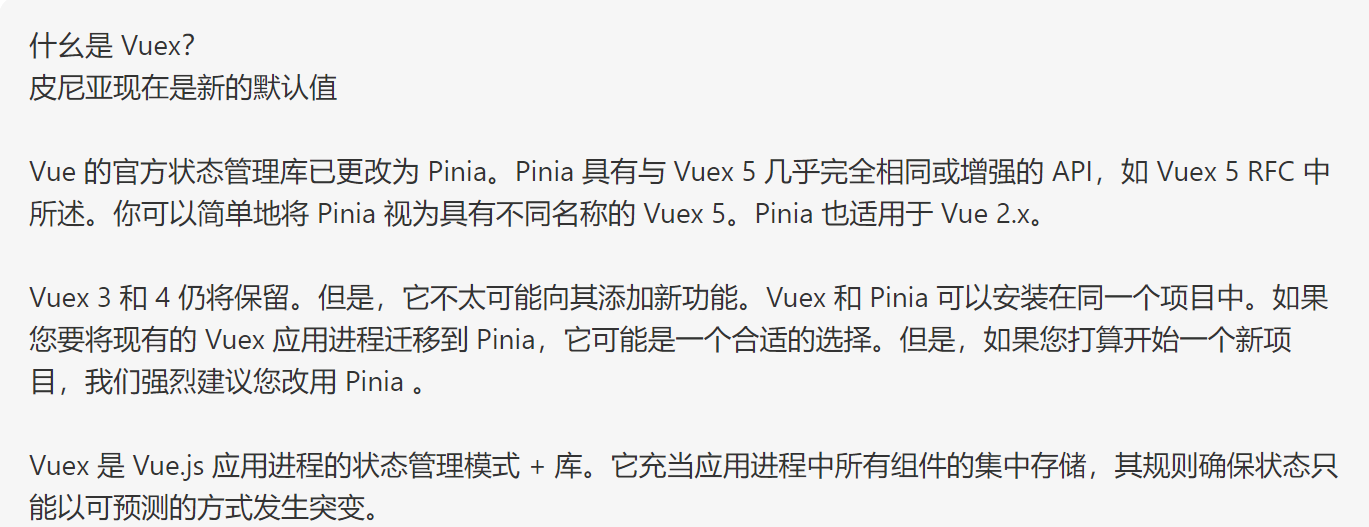
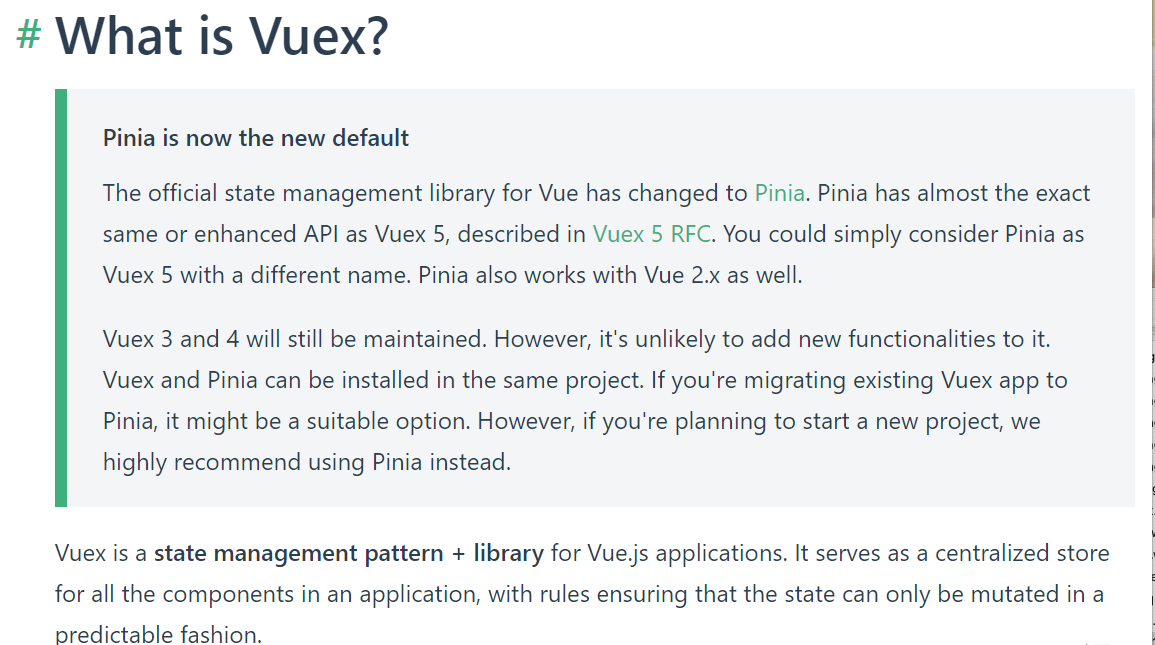
所以,推荐使用Pinia作为以后不论是vue2还是vue3状态管理库的首选!
Pinia使用
1
2
3
| yarn add pinia
# 或者使用 npm
npm install pinia
|
在mian.js中,创建根存储
1
2
| import { createPinia } from 'pinia'
app.use(createPinia())
|
store实例相当于一个容器,里面存放的有类似于data,计算属性,方法之类的东西。通过defineStore()方法定义
在src下面创建一个store文件夹,再创建与之对应的js文件,比如user.js
1
2
3
4
5
6
7
| import { defineStore } from 'pinia'
export const useUser = defineStore('user', {
})
|
1
2
3
4
5
| <script setup>
import { useUser } from '@/store/user.js'
const store = useUser()
console.log(store)
</script>
|
1
2
3
4
5
6
7
8
9
10
11
12
13
| import { defineStore } from 'pinia'
export const useUser = defineStore('user', {
state: () => {
return {
userName: 'jack',
avatar: 'https://cloudflare-ipfs.com/ipfs/Qmd3W5DuhgHirLHGVixi6V76LhCkZUz6pnFt5AJBiyvHye/avatar/363.jpg'
}
}
})
|
state
读取state
1
2
3
4
| import { storeToRefs } from 'pinia'
const userStore = useUser()
const { userName, avatar } = storeToRefs(userStore)
|
修改state
1
| userStore.userName = '张三'
|
批量修改state
1
2
3
4
5
6
7
8
9
|
userStore.$patch({
userName: '张三'
})
userStore.$patch((state) => {
state.avatar = 'https://cloudflare-ipfs.com/ipfs/Qmd3W5DuhgHirLHGVixi6V76LhCkZUz6pnFt5AJBiyvHye/avatar/596.jpg'
})
|
重置state
直接替换整个state(几乎不用)
1
| userStore.$state = { userName: 'rose', avatar: 'https://cloudflare-ipfs.com/ipfs/Qmd3W5DuhgHirLHGVixi6V76LhCkZUz6pnFt5AJBiyvHye/avatar/854.jpg' }
|
getters
类似计算属性。推荐里面传递一个形参的写法,不容易出错
1
2
3
4
5
6
7
| getters: {
isAdult: (state) => {
return state.age >= 18 ? '成年人' : '未成年'
}
}
<div>{{userStore.isAdult}}</div>
|
调用本模块其他getters
1
2
3
4
5
6
7
8
9
| getters: {
isAdult: (state) => {
return state.age >= 18 ? '成年人' : '未成年'
},
msg: (state) => {
return state.userName + state.isAdult
}
}
|
getters传参
1
2
3
4
5
6
7
8
9
| getters: {
isAdmin: (state) => {
return (name) => name === 'admin' ? '是管理员' : '不是管理员'
}
}
{{userStore.isAdmin}}
|
调用其他store里面的getter
商品模块goods.js
1
2
3
4
5
6
7
8
9
10
11
12
13
14
15
16
17
| import { defineStore } from 'pinia'
export const useGoods = defineStore('goods', {
state: () => {
return {
goodsName: 'iphone'
}
},
getters: {
newIphone: (state) => {
return state.goodsName + ' 14 pro'
}
}
})
|
想在user模块的getter中去获取goods模块的newIphone这个getter
1
2
3
4
5
6
7
8
9
| import { useGoods } from './goods.js'
getters: {
info: (state) => {
const goodsStore = useGoods()
return state.userName + '买了' + goodsStore.newIphone
}
}
|
actions
1
2
3
4
5
6
7
8
9
| actions: {
changeNameAsync (newName) {
setTimeout(() => {
this.userName = newName
}, 1000)
}
}
|
模块化
在实际开发中,不可能把多个模块的数据都定义到一个store中,而是一个模块对应一个store,最后通过一个根store进行整合
随便建立两个store,并导出
1
2
3
4
5
6
7
8
9
10
11
12
13
14
15
16
17
18
19
20
21
22
23
24
25
26
27
|
import { defineStore } from 'pinia'
const useUserStore = defineStore('user', {
state: () => {
return {
name: 'haha',
age: 18,
}
},
})
export default useUserStore
import { defineStore } from 'pinia'
const useCounterStore = defineStore('user', {
state: () => {
return {
count: 1
}
},
})
export default useUserStore
|
新建store/index.js
1
2
3
4
5
6
7
8
9
10
| import useUserStore from './user'
import useCounterStore from './counter'
export default function useStore() {
return {
user: useUserStore(),
counter: useCounterStore(),
}
}
|
组件中使用
1
2
3
4
5
6
7
8
| <script setup>
import { storeToRefs } from 'pinia'
import useStore from './store'
const { counter } = useStore()
const { count } = storeToRefs(counter)
</script>
|